
 Dupline for ARA-Pro Next
Hardware configuration: from ARA5 to ARA-Pro Next
You can adapt existing Dupline hardware for use with the ARA-Pro Next. Over recent years, two types of master module have been used:
- Type G34960005700 — the older master module with a Sub-D connector
- Type SD2DUG24 — the most recent master module
The proper configuration depends on the type and number of master modules in your system.
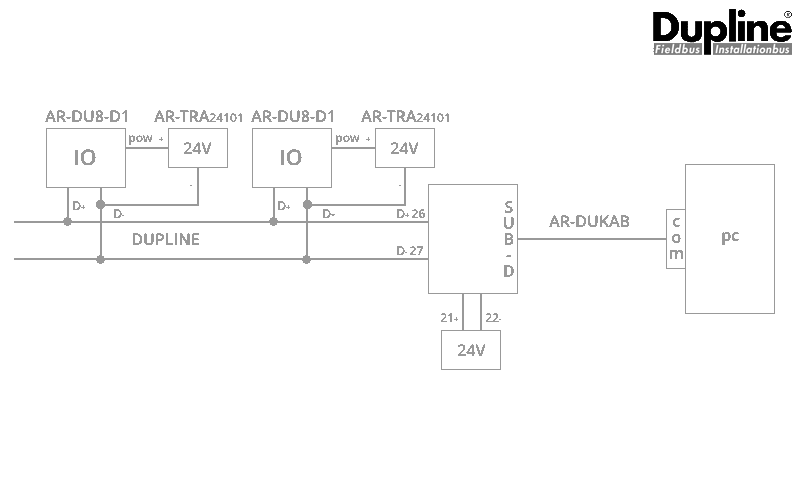
1. Single master module (type G34960005700)
Original setup (ARA5)
Adaptation for ARA-Pro Next
- The AR-DUKAB cable is no longer required.
- Connect a serial cable directly to the ARA RS485 interface. You can make a new cable, or modify the AR-DUKAB cable for this purpose.
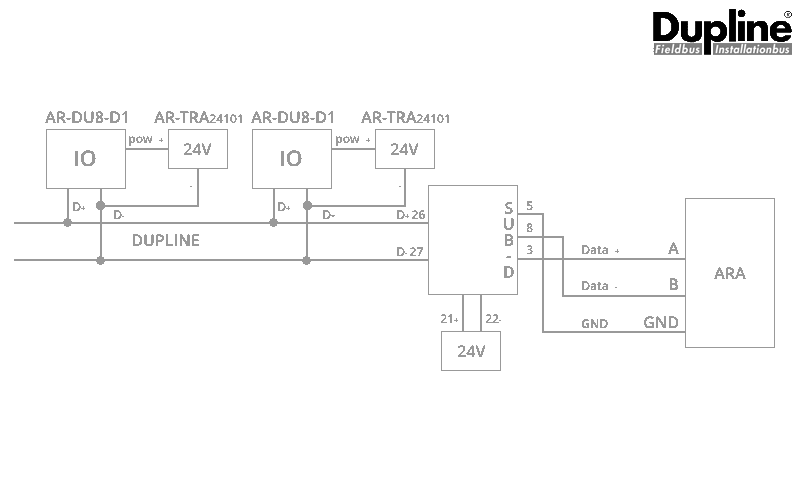
| Cable numbering | ||
|---|---|---|
| Sub-D male pin 3 | A | RS485 IO-bus (ARA) |
| Sub-D male pin 5 | GND | RS485 IO-bus (ARA) |
| Sub-D male pin 8 | B | RS485 IO-bus (ARA) |
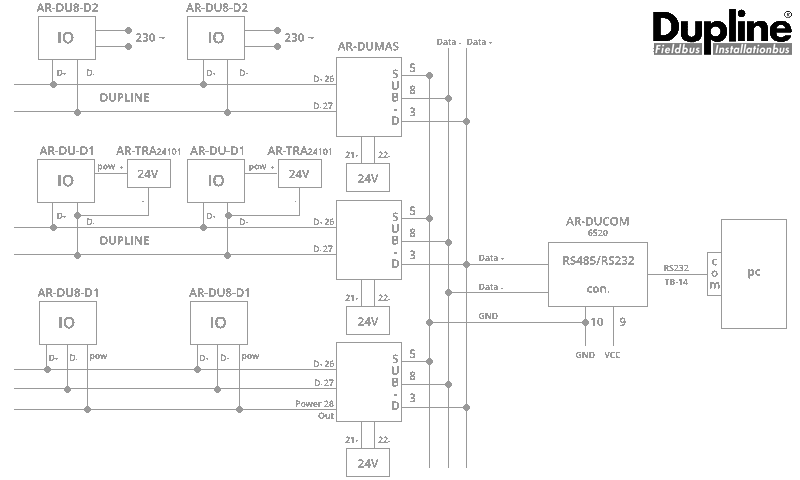
2. Multiple master modules (type G34960005700)
Original setup (ARA5)
Adaptation for ARA-Pro Next
- AR-DUCOM (RS485/232 converter) and the standard serial cable are no longer required.
- Connect the existing wiring (previously connected to the AR-DUCOM) directly to the ARA RS485 interface.

Note: Master module type G34960005700 is no longer available. All new installations use the SD2DUG24 master module. New ARA projects with Dupline always require the configuration described below.
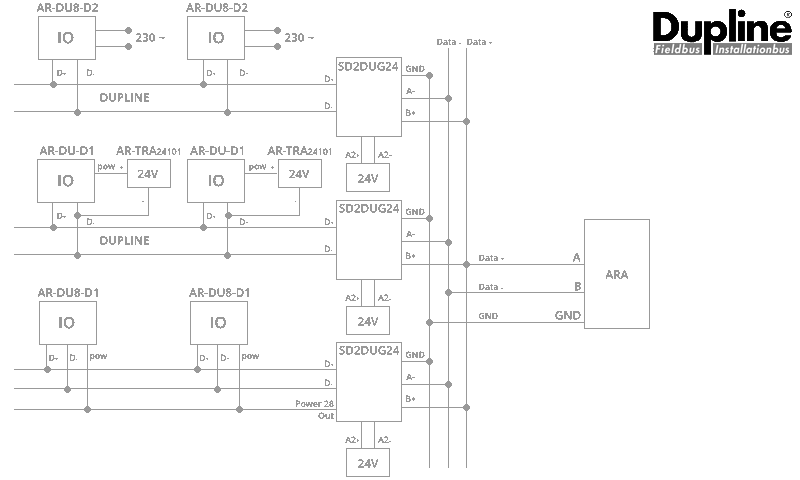
3. One or more SD2DUG24 master modules
Original setup (ARA5)
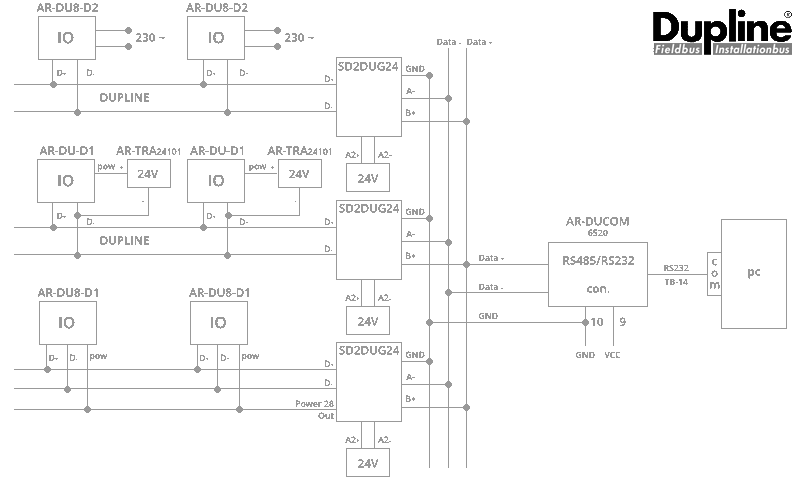
Adaptation for ARA-Pro Next
- Neither AR-DUCOM (RS485/232 converter) nor the standard serial cable is required.
- Connect the wiring directly to the ARA RS485 interface.
DUG: configuration tool for SD2DUG24 master modules
If you use multiple SD2DUG24 master modules, you must assign a unique ID to each module. Use the DUG configuration tool to do this.
Download DUG (configuration tool for SD2DUG24)
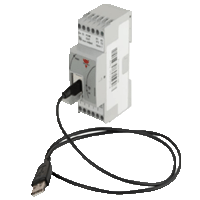 | Connect the SD2DUG24 to your PC or laptop using a micro-USB cable. |
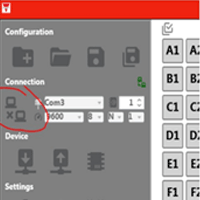 | Start the DUG tool and select the connect icon. The DUG tool will locate the COM port automatically. |
 | Read the current settings on the module. |
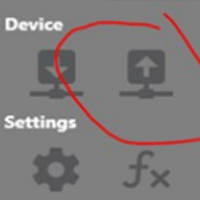
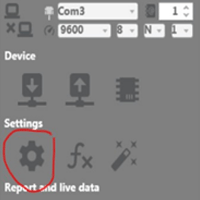 | Click the settings icon. |
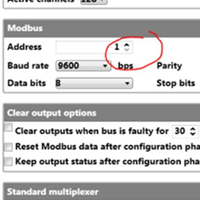 | Assign a unique ID (address) to each module. |
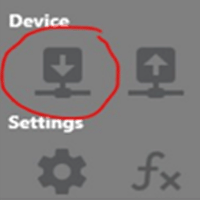 | Upload the new IDs to the modules. |