Introduction
This supplement to the Octalarm alarm diallers manual is intended for customers who will use the duty schedule module in conjunction with their:
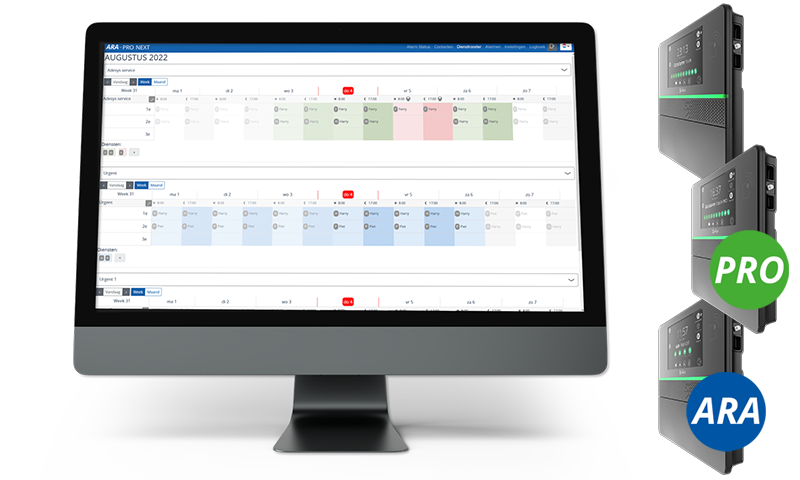
- Octalarm-Touch (Touch manual version 01-2023) - can be ordered as an additional module;
- Octalarm-Touch Pro (Pro manual version 01-2023) - to be ordered as an additional module;
- ARA-Touch Pro: the ARA-Pro Next system - delivered as standard including the duty schedule.
To ensure the duty schedule module is used properly, we strongly recommend reading this document carefully. The best way to commission the module is to follow the order of this document when setting up the menus. Setting the duty schedule is done via Remote Config. (See Section 9.2. of the manual for further explanation).
Adésys does not accept any liability for consequential damage caused by improper use of and/or malfunction of the alarm diallers.
Implementation Licence
A licence for the duty schedule module for the Touch and/or Pro alarm dialler can be implemented at two points in time.
1. Retrofitting on diallers already in use
The licence has to be activated manually.
What happens when activating the duty schedule module (for an existing dialler)?
- All call lists become service groups.
- All contacts from call lists move to the service groups.
- All individual call methods of a contact, for example John voice, John pager, John SMS and John email, are combined into 1 entity, John, with all call methods together.
- From now on, the dialler first uses all call methods of one contact before alerting the next person.
- Previously, contacts could be in a call list multiple times. From now on, only 1x per service group.
- Setting up the duty schedule is done using a PC or laptop via the portal: portal.octalarm.com (worldwide) or on the dialler’s IP address (within the end customer’s company network).
Setting sequence AFTER adding duty schedule module in existing dialler
- Contacts are still there!
- There is still one schedule. When required: create additional schedules. A schedule determines start and stop times of the service groups.
- There are already as many service groups as there were previous call lists. Optionally add new service groups, e.g. Cultivation group, Water group and Electrics group.
- Creating services in the duty schedule:
- service groups are already in here;
- schedule contacts per service group with option daytime | nighttime;
- give logical names to the services, e.g. daytime duty.
- Check that a service group is linked to each alarm input!
Go to Activate licence for further instructions.
2. When purchasing the dialler
The licence is activated immediately upon delivery.
Setting sequence of NEW dialler WITH duty schedule module
- Setting up the duty schedule is done using a PC or laptop via the portal: portal.octalarm.com (worldwide) or on the dialler’s IP address (within the end customer’s company network).
- Create contacts with all possible call methods.
- Creating schedules. A schedule defines the start and stop times of service groups with a particular specialism, for example Cultivation-specific, Electrics, Water-specific and Laboratory.
- Create service groups, including the preference of call method in that group.
- Creating services in the duty schedule: permanent/recurring shifts and temporary shifts (e.g. holidays);
- service groups are already in it;
- schedule contacts per service group with option daytime | nighttime;
- give logical names to the services, e.g. daytime duty.
- Per input, link correct service group based on specialism.
Proceed to Compenents module for further instructions.
© Adesys B.V. | version: 2.5.0 | 2023-10-12 (temporary supplement to PDF manuals version 01-2023)
Navigating This Document
Navigation
There are several methods to navigate through the sections of the manual:
- the sidebar on the left lists all sections (navigation window). Clicking on one of the titles will load that page. The sidebar may not appear automatically if the window is too narrow, especially on mobile screens. In this case, the menu icon (three horizontal bars) at the top left of the page can be pressed to open and close the sidebar.
- the arrow keys on the side of the page can be used to navigate to the previous or next item. The same goes for the left and right arrow keys on the keyboard.
Menu Bar at the Top
The menu bar at the top of the page contains some icons for interaction.
| Pictogram | Description |
|---|---|
| Opens and closes the sidebar with the navigation overview | |
| Opens a selector to choose a different colour theme | |
| Opens a search bar to search the manual | |
| Opens the PDF file of this manual |
Tapping on the menu bar will bring up the page.
Search
The manual has a built-in search system. Pressing the search icon in the menu bar, or the S key on the keyboard, opens an input field for entering search terms. Typing in certain terms displays the corresponding sections and subsections in real-time.
Clicking on one of the results will jump to that section of the manual. The up and down arrow keys can be used to navigate through the results, and enter opens the highlighted section.
After loading a search result, matching search terms are highlighted in the text. Clicking on a highlighted word or pressing the Esc key removes the highlight.
Enlarge Images
When you hover over an image and see the symbol, you can display the image in a larger size by clicking on it.