 Add and edit contacts
- Go to
Contactsfrom the dashboard. - Click
Addto create a new contact and complete the fields below. - Select a contact and click
Editto modify an existing contact. Change the relevant input field. - Click
Apply.
Good to know: You can create up to 50 contacts in an alarm dialler.
Explanation of input fields
(Left-hand side)
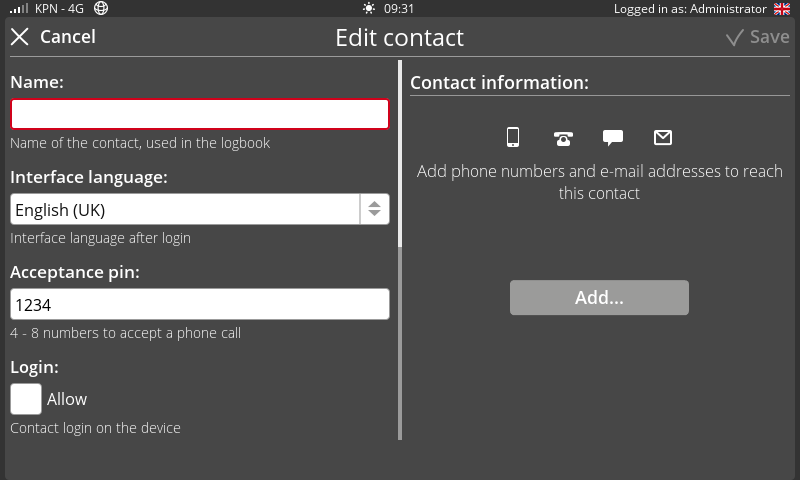
Name
Enter a recognisable name. The dialler displays this name in the logbook.
Interface language
The interface language determines the language this contact sees after logging in.
Good to know: It does not affect the language the dialler uses for alarm notifications. To set the alarm language, see Settings | Appearance | Language.
Acceptance PIN
Assign a person-specific code for accepting alarms via telephone. We recommend giving each contact a unique acceptance PIN.
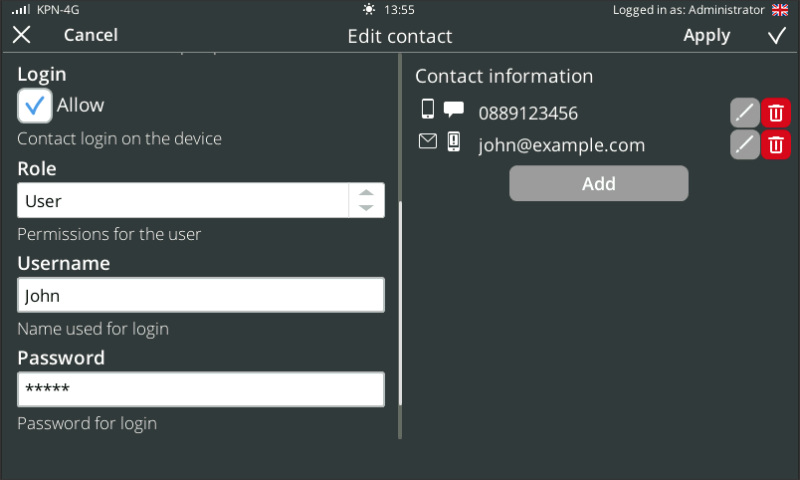
Login
Tick this box to allow the contact to log in to the Octalarm alarm dialler.
Authorisation, username and password
Set the authority level, username and password. There are 6 authorisation levels (in order of rights):
| Icon | Role | Authority |
|---|---|---|
 | Only accept alarms | The contact can only be called (cannot log in to the dialler). |
 | User | The contact can view settings and edit their own details. |
 | Service | The contact can view settings, edit their own details, and temporarily disable alarms (up to a maximum of 12 hours). |
 | Coordinator | The contact can view settings, edit their own details, temporarily disable alarms (up to a maximum of 12 hours), and create or modify contacts, call lists/service groups, and duty schedules. |
 | Administrator | The contact has high privileges and can change all settings, except: creating or modifying REST API links (Octalarm Link)1; creating external alarm diallers within ARA (Touch and/or Touch Pro)2; creating or modifying links with ARA5 or ARA-Pro Next in Touch and/or Touch Pro2. |
 | Installer | The contact has full authority and can change all settings. |
Note: You cannot convert the last Installer or Administrator to User, as this would prevent further changes to contacts, alarms, and dialler settings.
Once you have set the username and password, the contact can access the dialler by:
- Logging in to the dialler;
- Logging in via
Remote setup. See The portal: portal.octalarm.com | Remote setup (global) and Remote setup (local) for further explanation.
Forgotten your password?
You can reset a password in 2 ways:
- Via a user with the Administrator or Installer role:
- As an Administrator or Installer, go to
Contactsfrom the dashboard; - Select the relevant contact and press
Edit; - Scroll to Password and change it;
- Press
Apply;
- As an Administrator or Installer, go to
- With a verification code. See Dashboard (start screen): Forgotten password for further explanation.
Linked tag
You can associate a tag with each contact (three tags are included by default). This allows the contact to log in to the alarm dialler without entering a password.
Add login tag
- Click
Add. - Hold the tag against the RFID scanner. The system confirms pairing with
 .
. - Click
Apply.
Delete tag
- Click
Delete. - Click
Apply.
(Right-hand side)
Contact information
You can add different call media for each contact:
- phone number: for calls or text notifications;
- Email / app: for Email alerts or app alerts;
Please note: For app alerts, use the Email address registered in the portal (https://portal.octalarm.com).
- Pager: for alerting via the POCSAG network.
Add call media
- Click
Add. - Select the desired call medium.
- Fill in the requested information (telephone number or Email address and password, if applicable) and press the tick button.
- Click
Add. - Click
Apply.
Change call media
- Click the edit icon (
 ) next to the relevant call device.
 - Make the desired changes and press the check mark.
- Click
Edit. - Click
Apply.
Delete call media
- Click the bin icon (
 ) next to the corresponding call medium.
 - Click
Apply.
Run test call
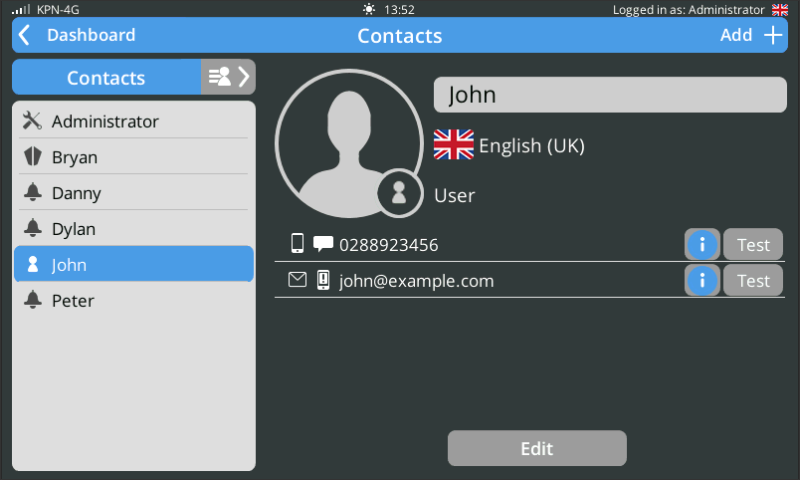
Note: We recommend performing a test call for newly added contacts or after changing or adding a call medium.
- Select the relevant contact.
- Choose the call medium you want to test. The system indicates the test status with a colour:
- grey: no test call performed yet;
- blue: test call active;
- green: test call successful;
- red: test call failed.
- Click
Testnext to the selected call medium. - Choose the interface over which you want to test (GSM, SMS, VoIP, Email; the available options depend on the call media). The status of
Testchanges according to the result of the test call.
The dialler records the result of the test in the logbook.